How to setup Microsoft Windows Live Mail for SEI Email access
1) Open Windows Live Mail. 2) If a setup wizard does not start on it’s own, click the “Accounts” tab at the top of the window and then click the “Email” button (with the large “@” sign and a small green “+” on top of it) in the upper left section of the window. 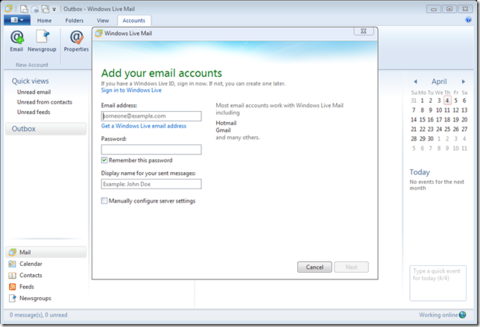 3) Enter your account information, then click Next: 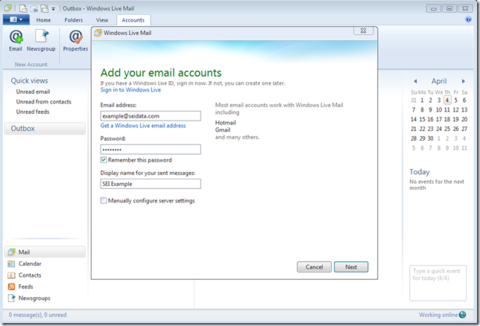 4) You will then be asked to configure the server settings: 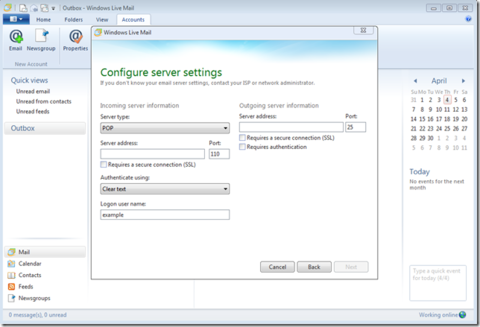 5) Under the Incoming Server information, Enter the server address “mail.seidata.com” and you may choose POP (port 995 when using SSL) or IMAP (port 993 when using SSL) – we used POP here. For the outgoing server address, you will also use “mail.seidata.com”, enable/checkmark “Requires a secure connection (SSL)” and “Requires authentication”, and finally change the port to 465. Click “Next”. 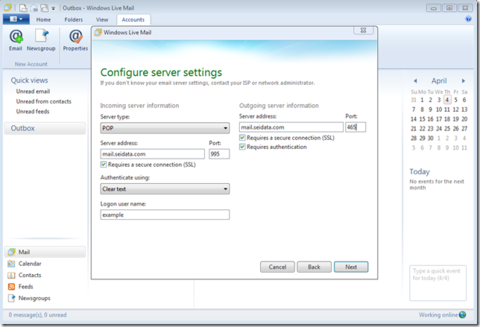 6) Click “Finish” and you are done. 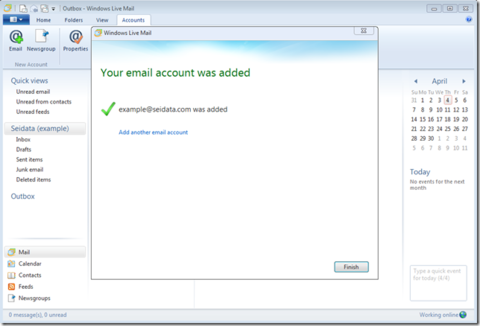
|
||||||
